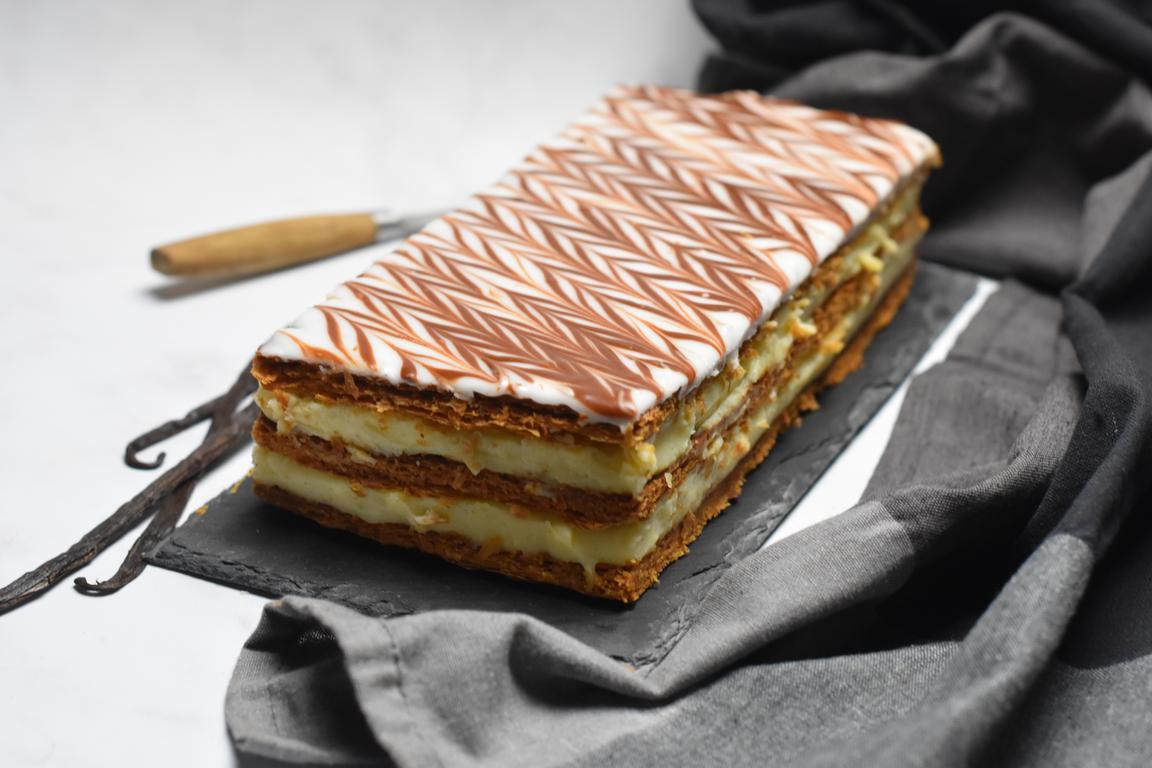
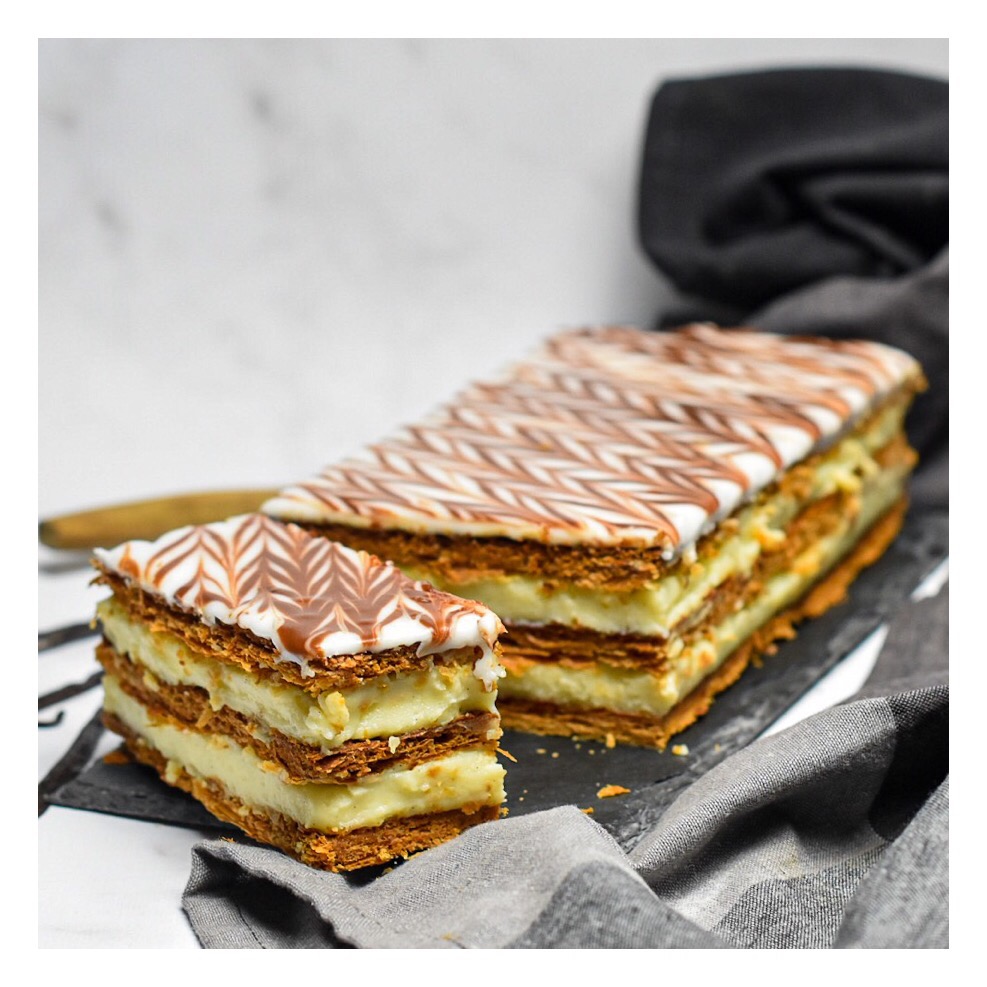
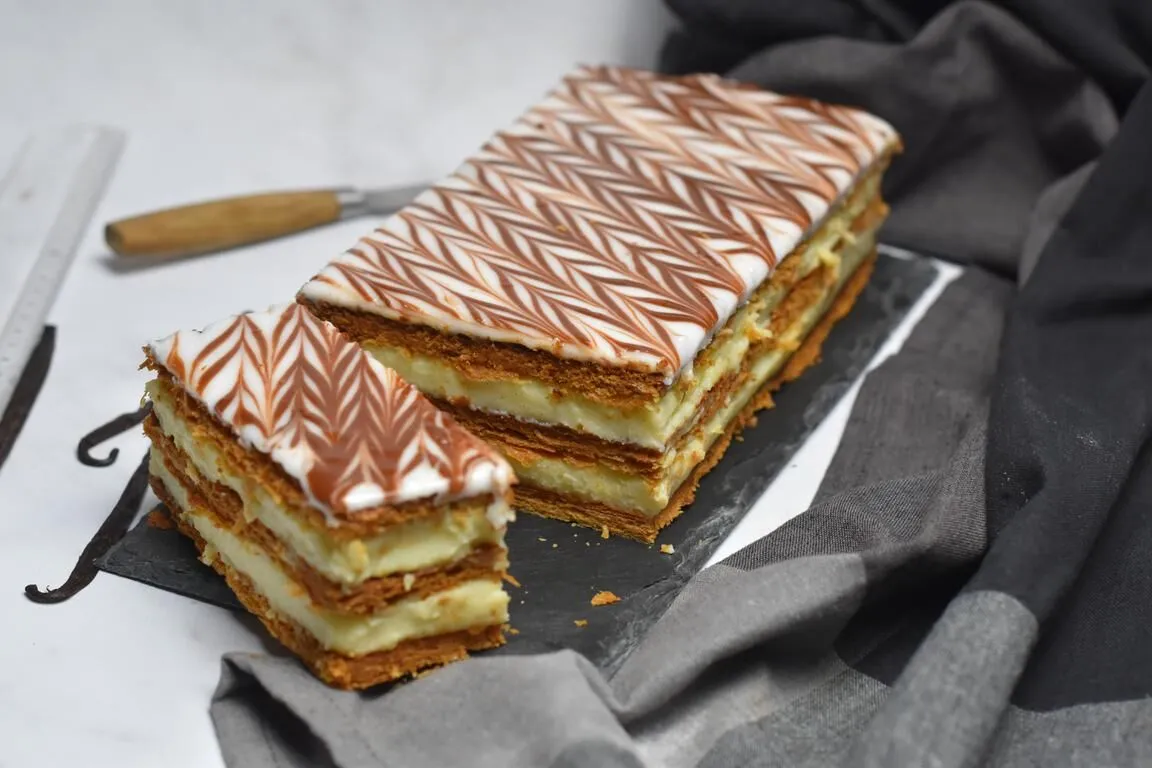
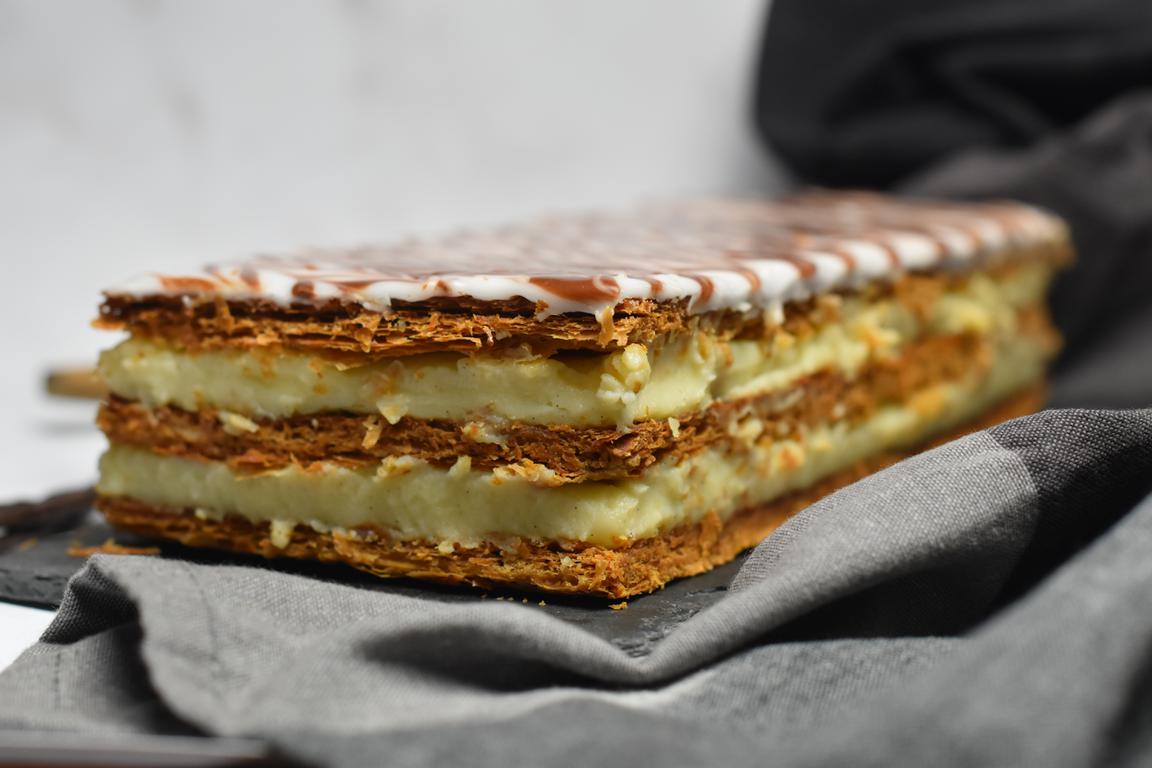
Classic vanilla millefeuille
18 February 2020
Difficulty:


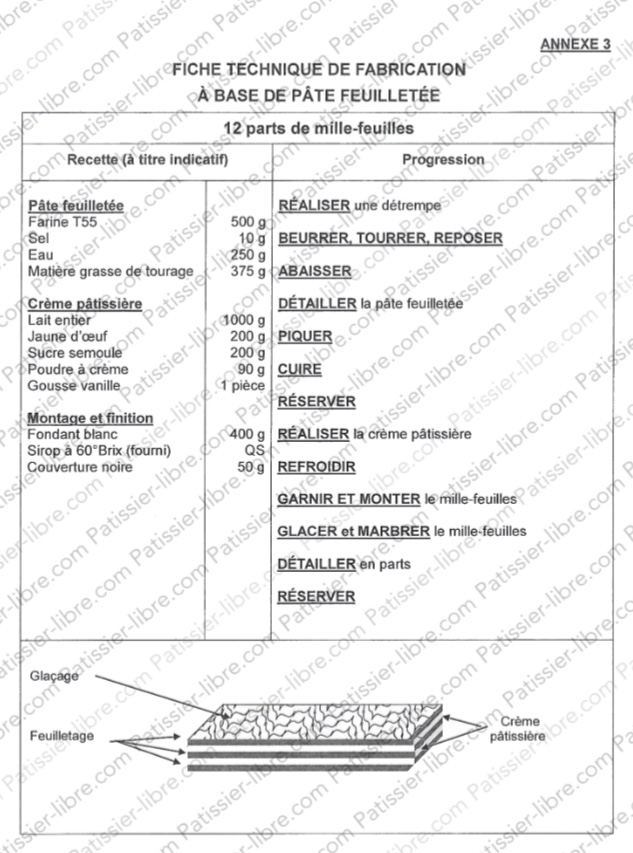
Here is the recipe for a great classic that I had never made before, the vanilla pastry cream millefeuille. I based it on this CAP Pastry Chef recipe found on the site Pâtissier Libre:
I tried to detail each step as much as possible, feel free to ask me questions in the comments if any parts are unclear.
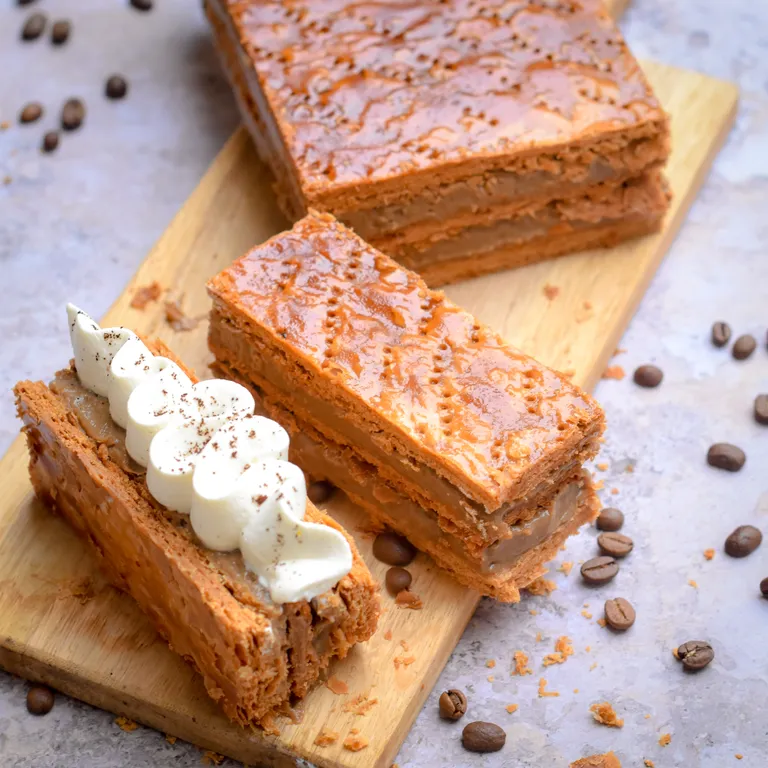
Of course, you can add a bit of salted butter caramel on the pastry cream during assembly, or make a chocolate cream, or replace the fondant with a bit of icing sugar and/or cocoa powder, there are many variations with this recipe!
Preparation time: 2h + 3h minimum resting time + about 1h cooking per sheet
For 10 to 12 individual millefeuilles:
Classic Puff Pastry:
500g of T55 flour
50g of melted butter
10g of salt
250g of water
325g of butter
Place the water, previously melted butter, and salt in the bowl of the mixer equipped with the dough hook. Then add the flour, and knead on speed 1 for 1 to 2 minutes. Stop kneading as soon as the dough is homogeneous; if you knead too long, the dough will become elastic.
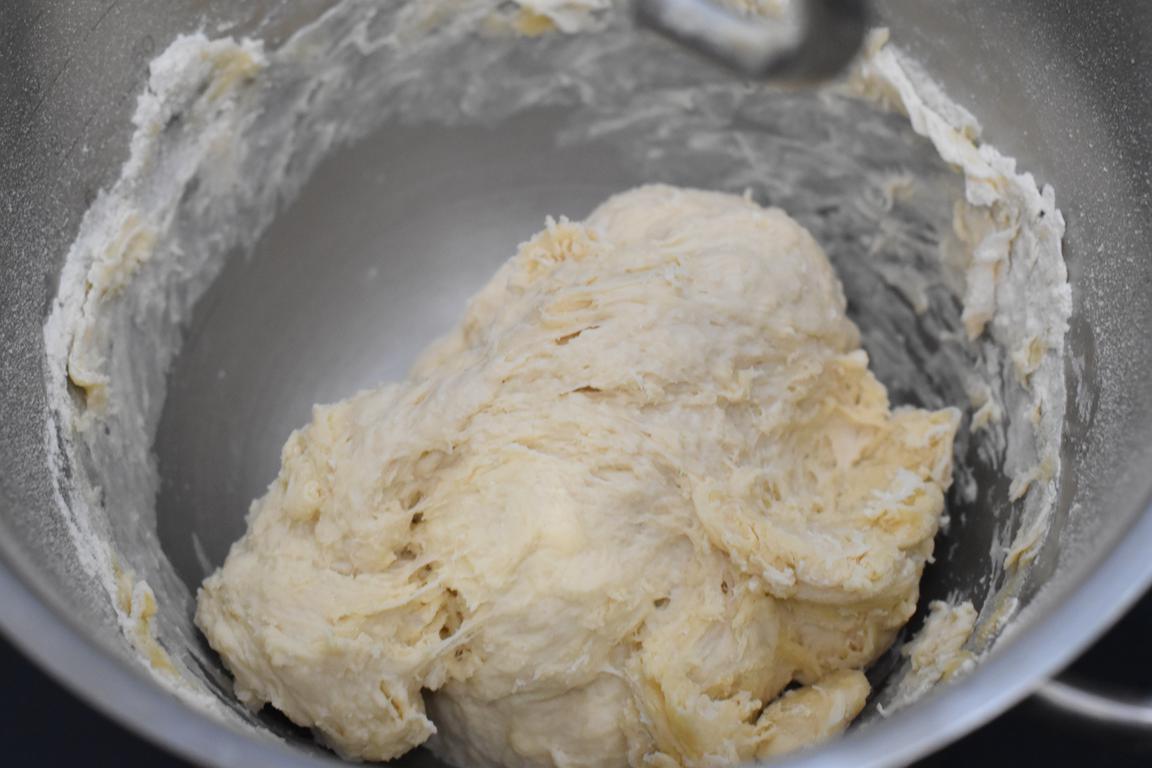
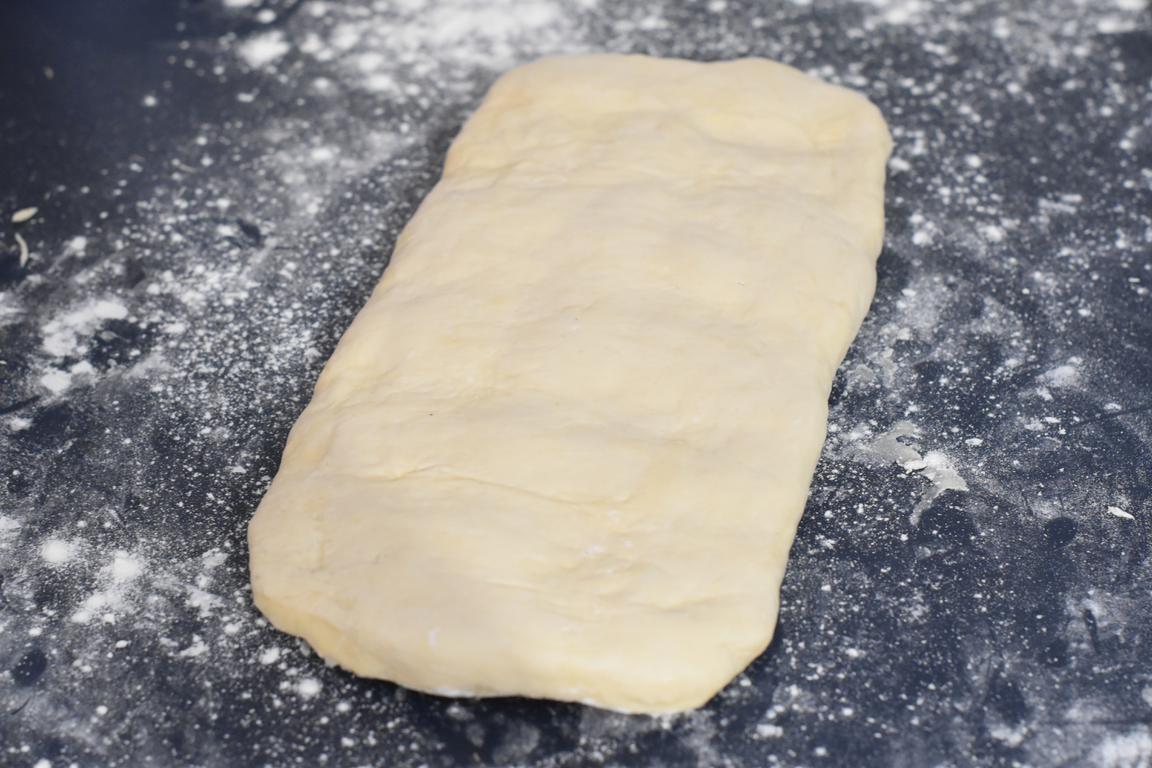
Flour the work surface, place the détrempe on the work surface and form a ball. Roll it out slightly to obtain a small rectangle, then cover it with plastic wrap and place it in the fridge for at least 30 minutes.
10 minutes before the détrempe's resting time ends, take the butter out of the refrigerator. Hit the butter with the rolling pin several times to make it elastic but not soft or warm. The butter should be soft, shiny, and elastic but not sticky.
Put the butter in the center of a sheet of parchment paper and fold it to form a small rectangle. Roll out the butter in this parchment paper "envelope" to achieve an even thickness, then place it in the fridge with the détrempe so they are the same temperature.
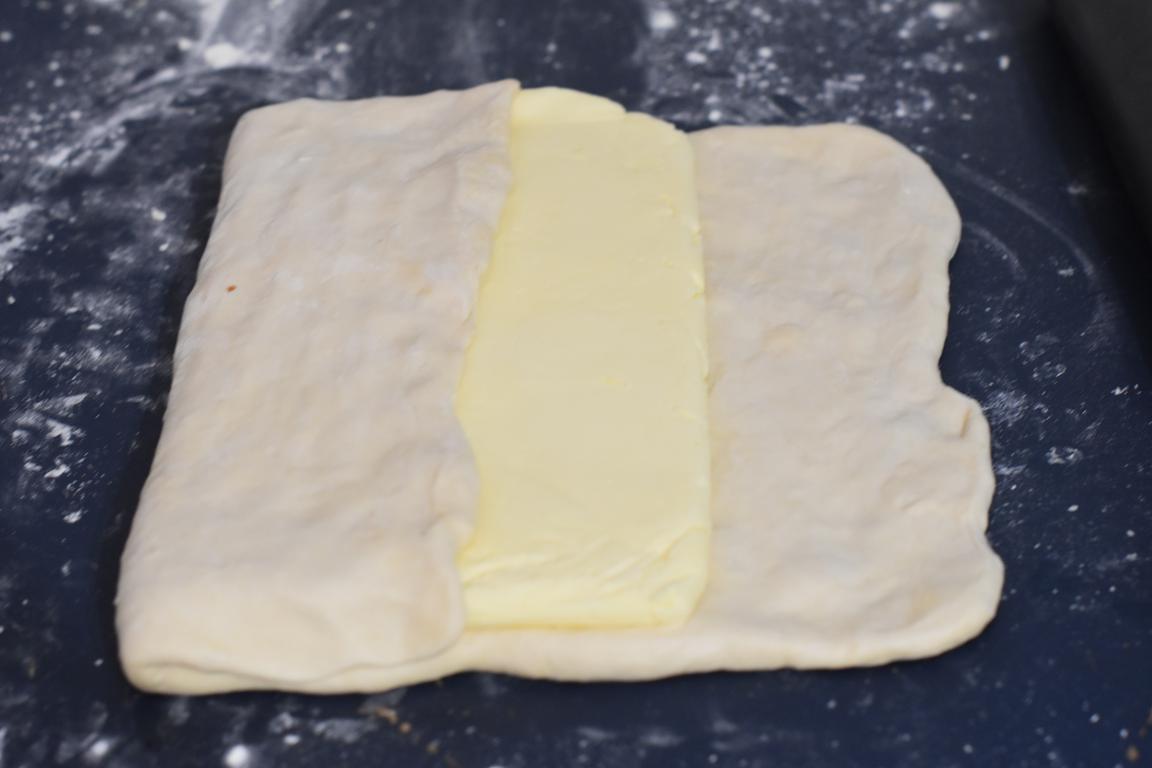
Next, roll out the détrempe so that it is the same length and twice as wide as the butter.
Place the butter in the center of the détrempe, and fold the détrempe to enclose the butter, being careful not to trap any air pockets between the butter and the dough.
Seal the two elements by pressing them together with the rolling pin.
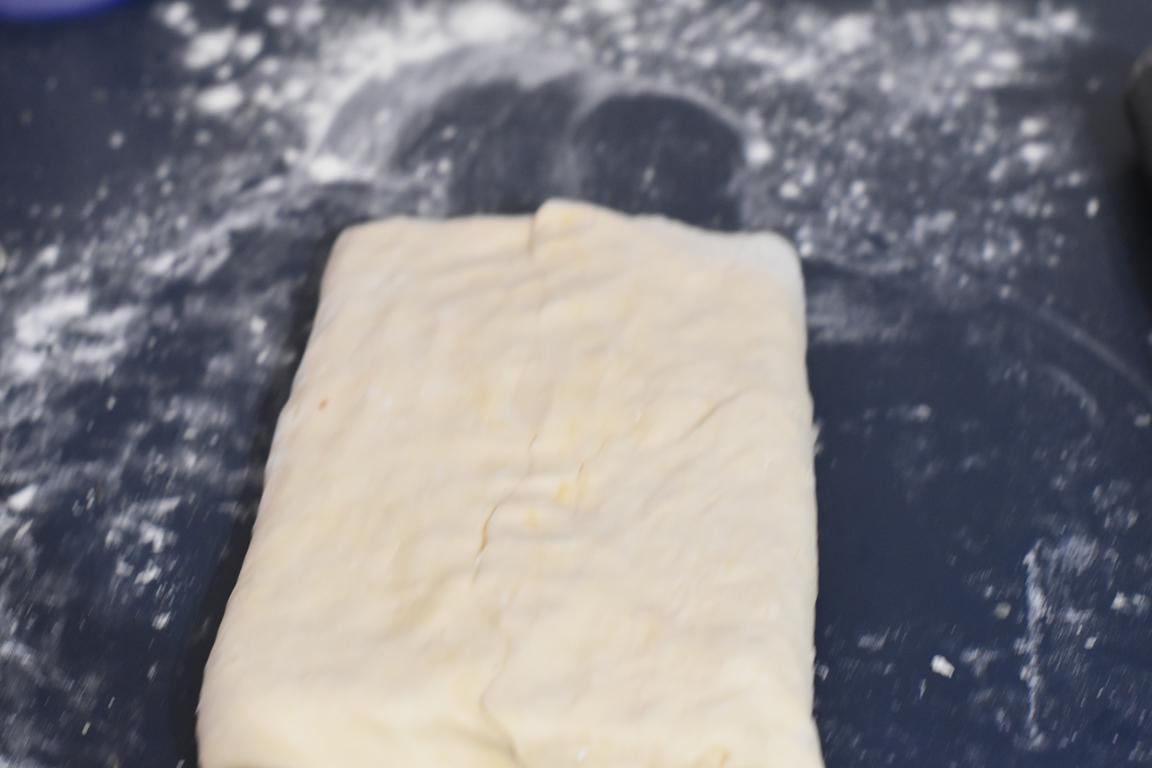
Next, roll out the dough (if necessary, remember to flour the work surface). The dough should be 3 to 4 times longer than it is wide.
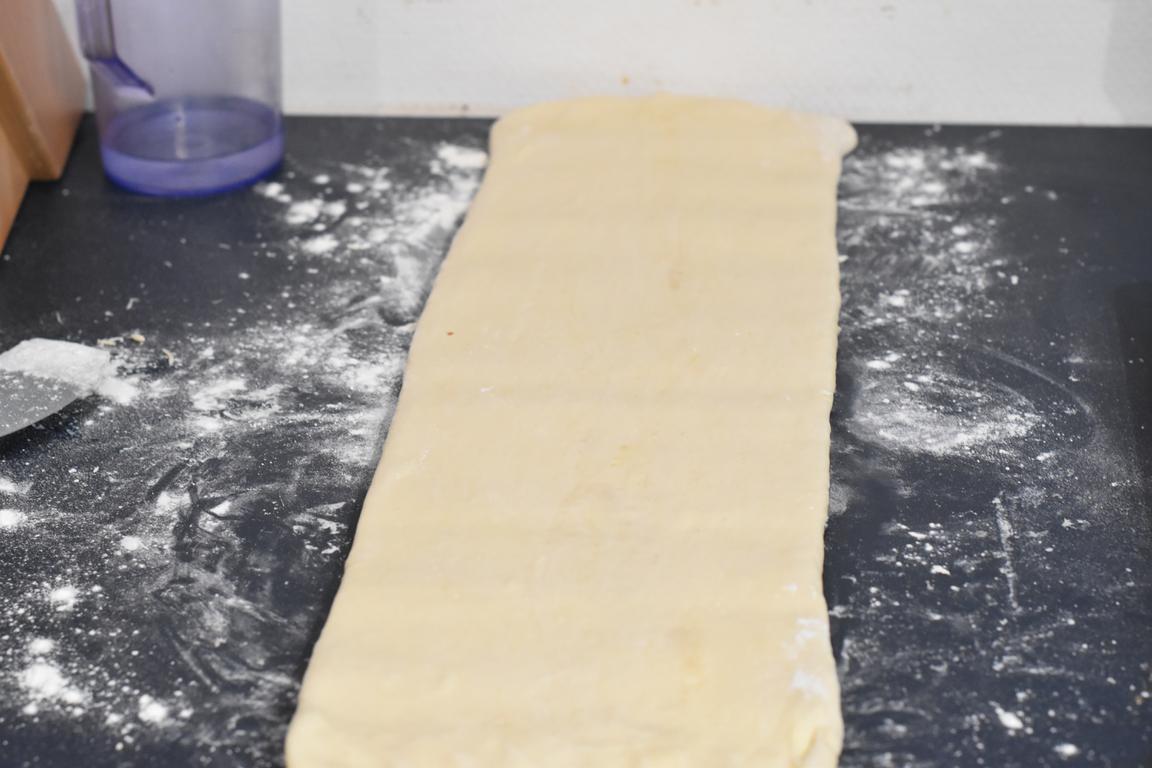
Then remove the flour with a brush, and make a double turn: fold the bottom of the dough a little towards the top, then the top of the dough towards the bottom (where the two meet should not be in the middle, but in the lower half of the dough).

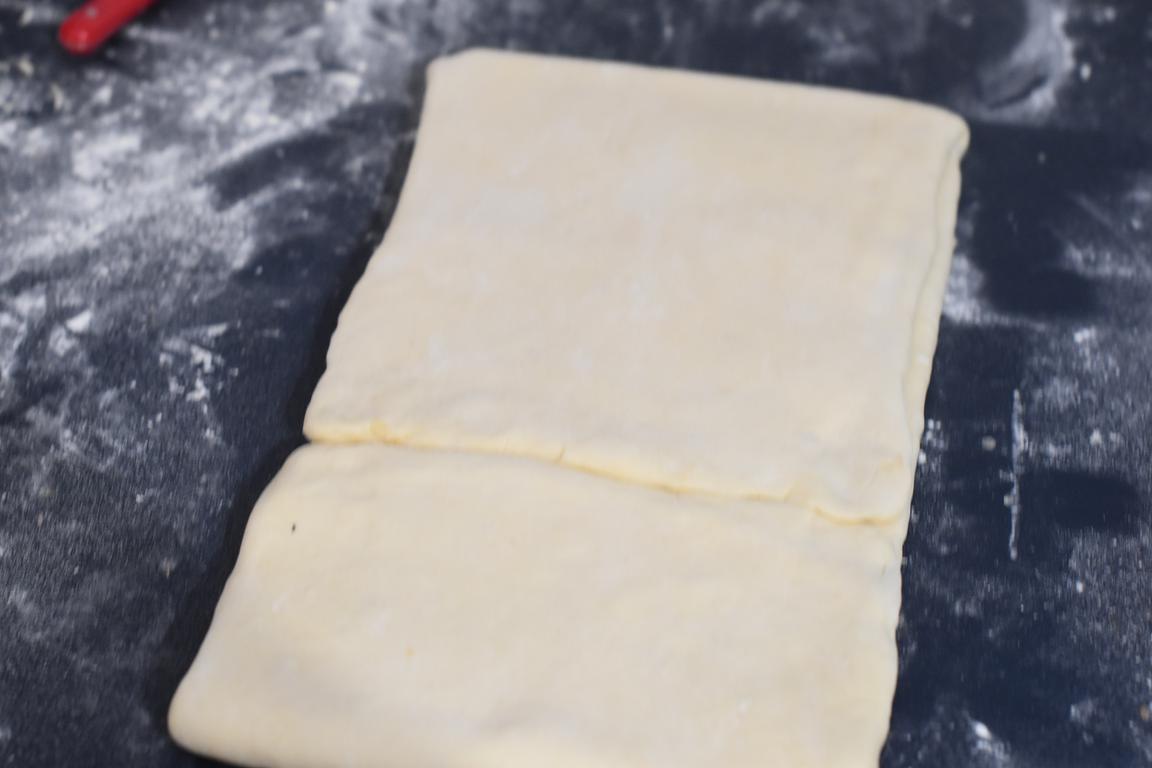
The edges must meet properly; you can slightly pull on the dough to have edges that meet well, but without overlapping. Then fold the dough in half, and turn the dough a quarter turn, so the opening is on the right side (like a book).
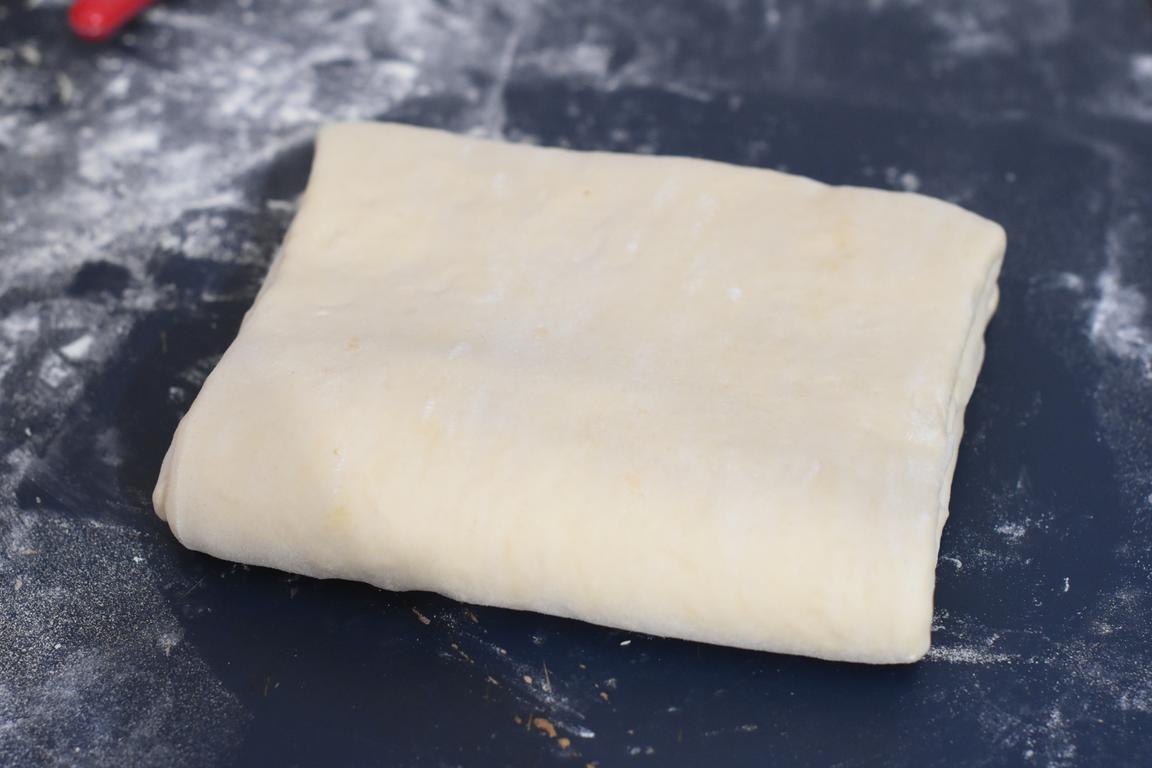
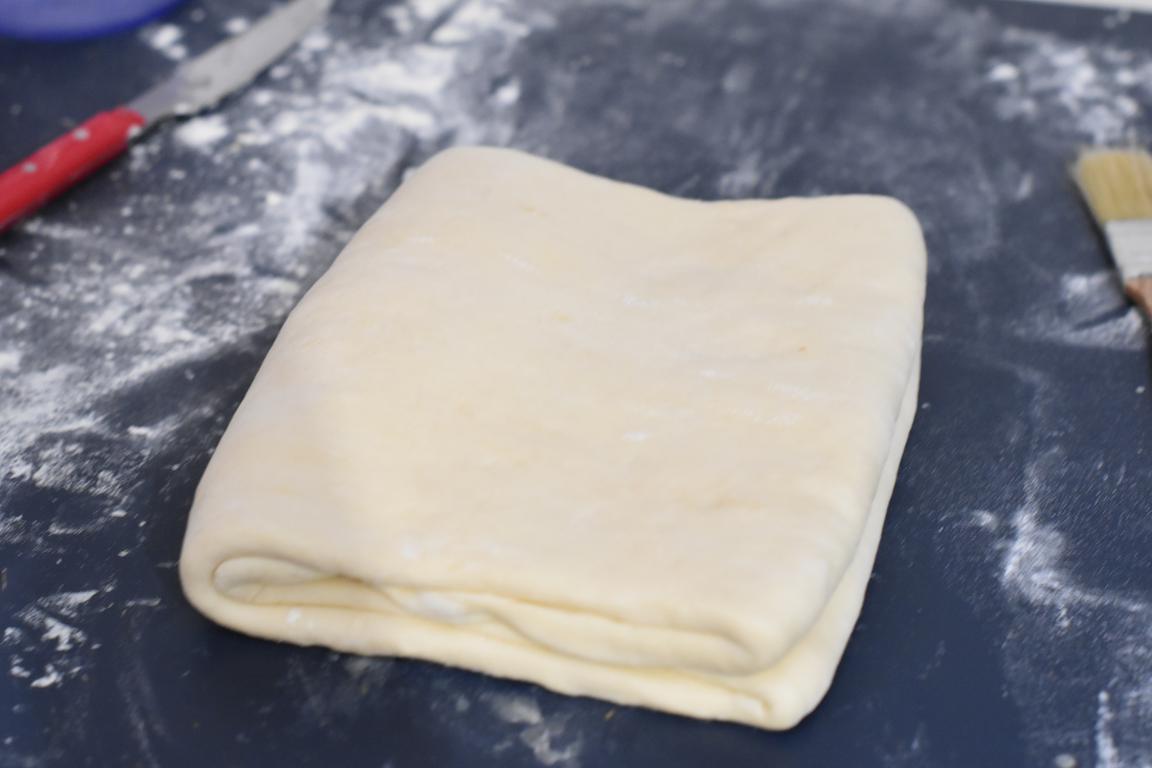
Seal the top and bottom of the dough by gently pressing with the rolling pin.
If the dough is still cold and has the right consistency, you can proceed with the second double turn, otherwise wrap it and place it in the fridge for 30 minutes before continuing.
After the second double turn, wrap the dough and leave it in the refrigerator for at least 30 minutes.
After the resting period, do two more double turns (same as the first time, if you feel your dough has warmed, becomes sticky or any other issue, you can place it back in the fridge for a few minutes between the 3rd and 4th double turn).
Once the last double turn is done, wrap the dough and leave it in the fridge for at least 30 more minutes.
Vanilla Pastry Cream:
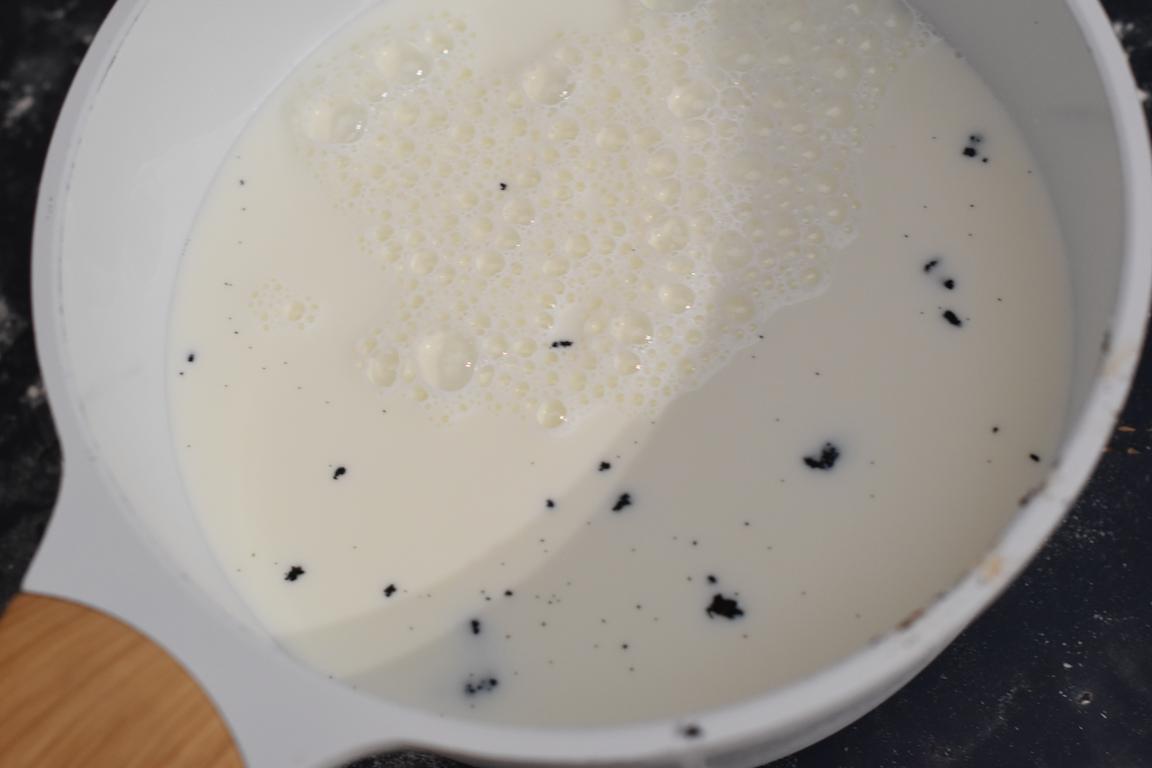
1000g of whole milk
1 vanilla pod
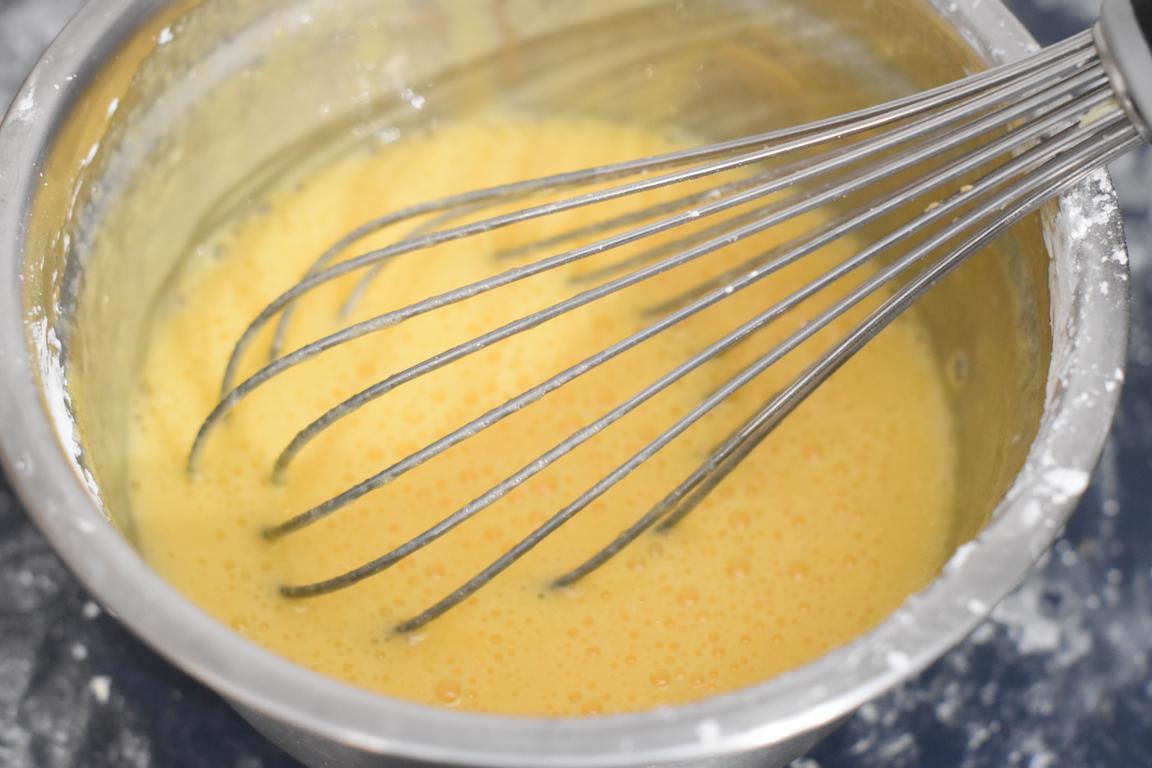
200g of egg yolks
200g of granulated sugar
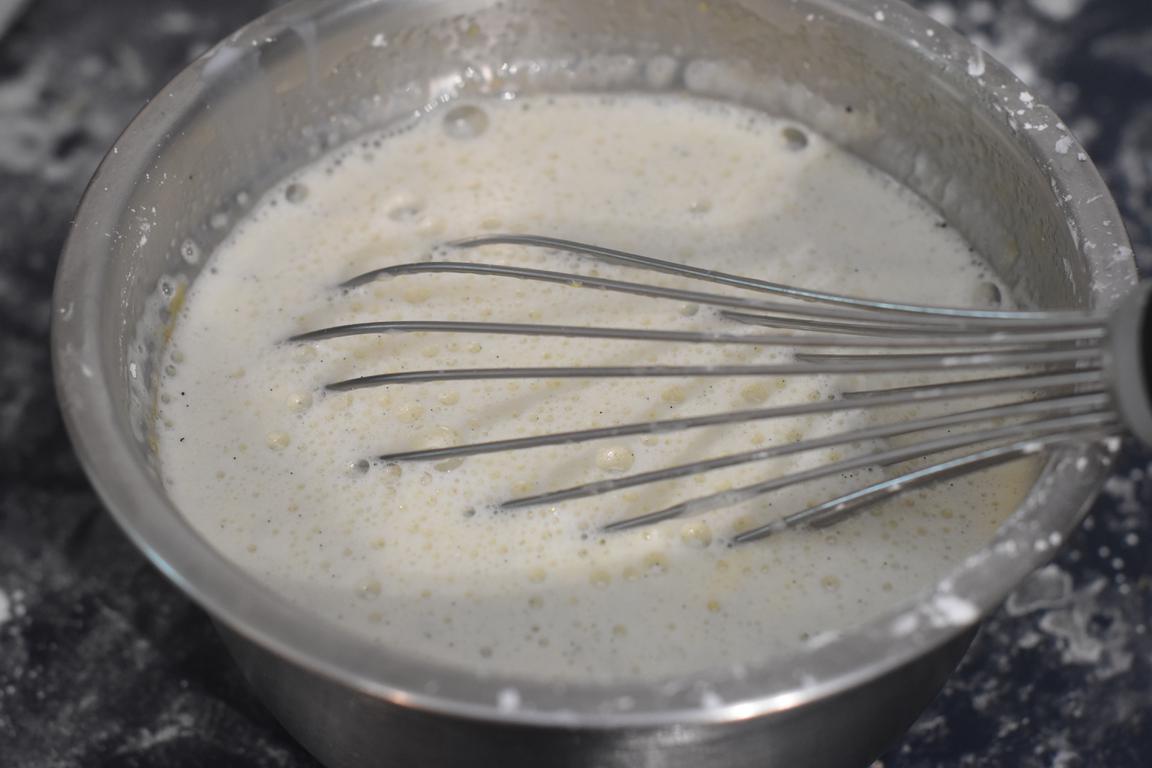
90g of cornstarch
Bring the milk to a boil with the vanilla.
Meanwhile, whisk the egg yolks with the sugar.
Next, add the cornstarch, then pour half of the hot milk over the eggs. Pour everything back into the saucepan, stirring well, and cook over low/medium heat while constantly whisking until the cream thickens (about 1 minute of cooking once boiling is reached).
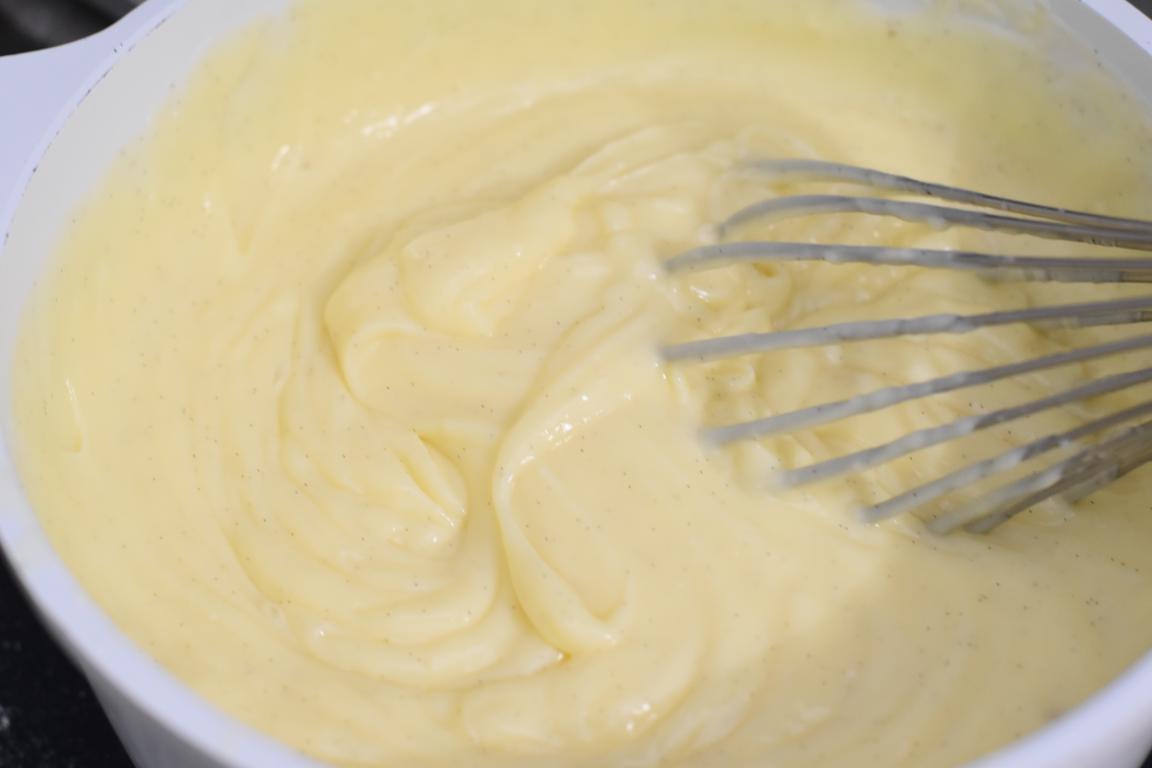
Transfer the cream into a container, cover it with plastic wrap, and place it in the fridge until completely cooled.
Baking:
QS of icing sugar
Lightly flour your work surface, then roll out the puff pastry to obtain two 30x40cm rectangles.
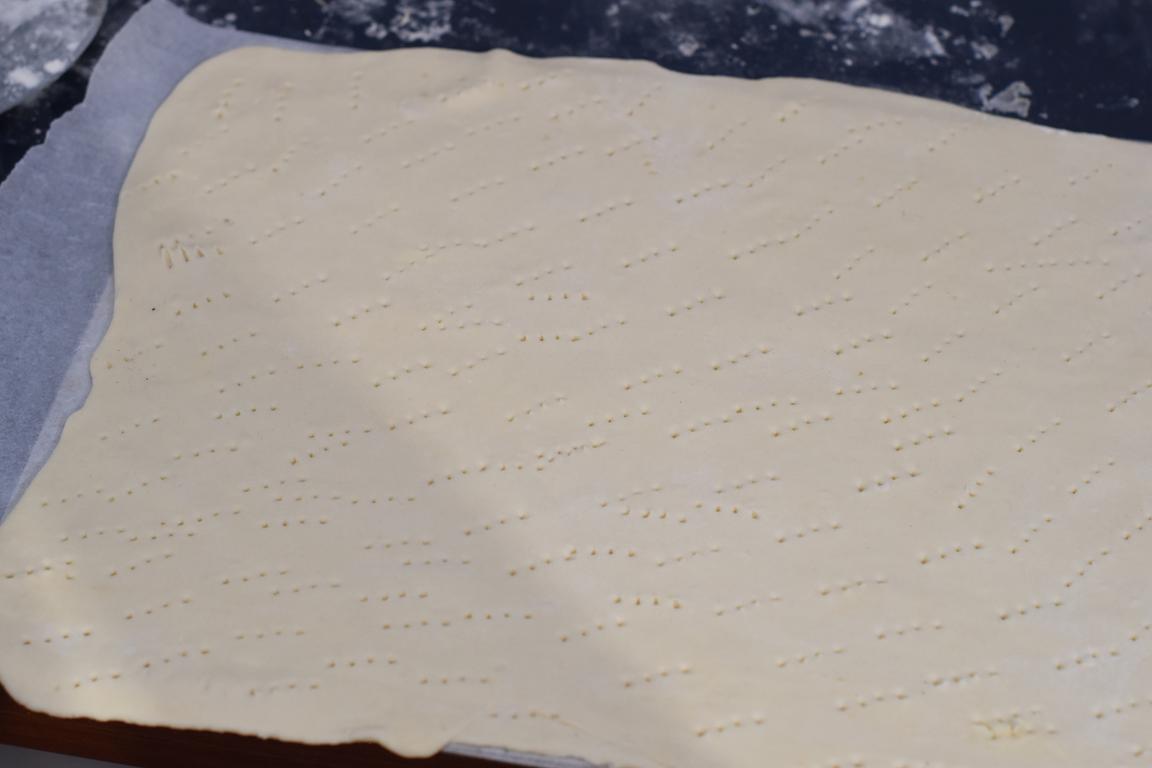
As with each step, remove excess flour with a brush. Place each rectangle of dough on a baking sheet covered with parchment paper. Prick the dough all over with a fork, then cover the puff pastry with plastic wrap and place it back in the fridge for 30 minutes.
Preheat the oven to 180°C fan, place a sheet of parchment paper then a perforated baking sheet on the puff pastry. After 10 minutes, add two more sheets on top, and continue baking for 45 minutes. Then, remove all three pans and the parchment paper, sprinkle with icing sugar, and bake at 210°C for 5 to 10 minutes (watch closely so the pastry doesn't burn).
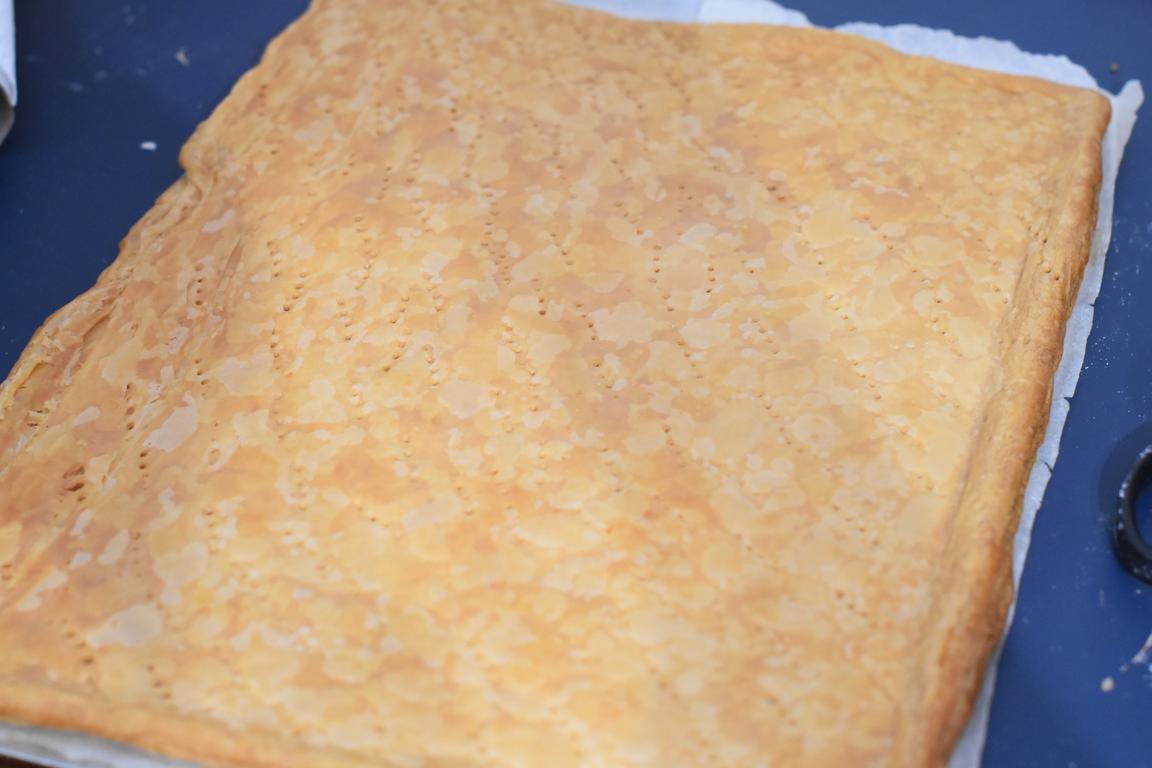
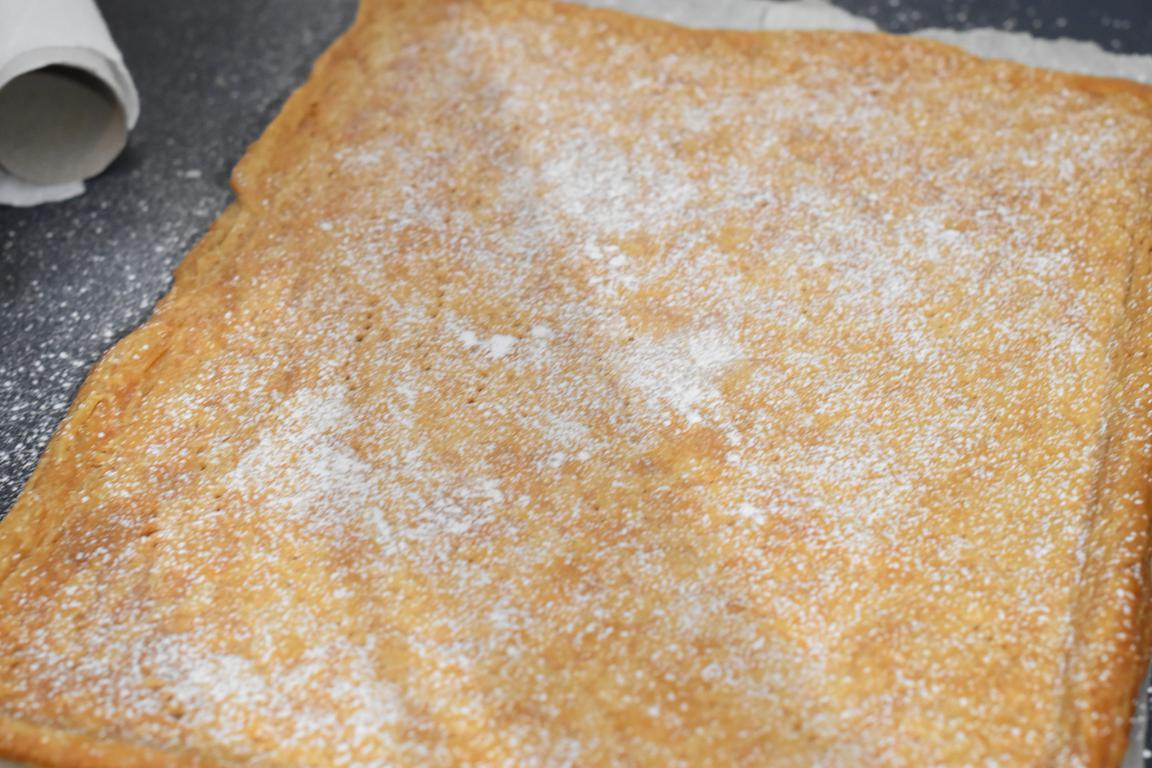
Transfer the cooked puff pastry to a wire rack, and let cool completely.
Repeat the baking process with the second sheet of puff pastry.
Assembly:
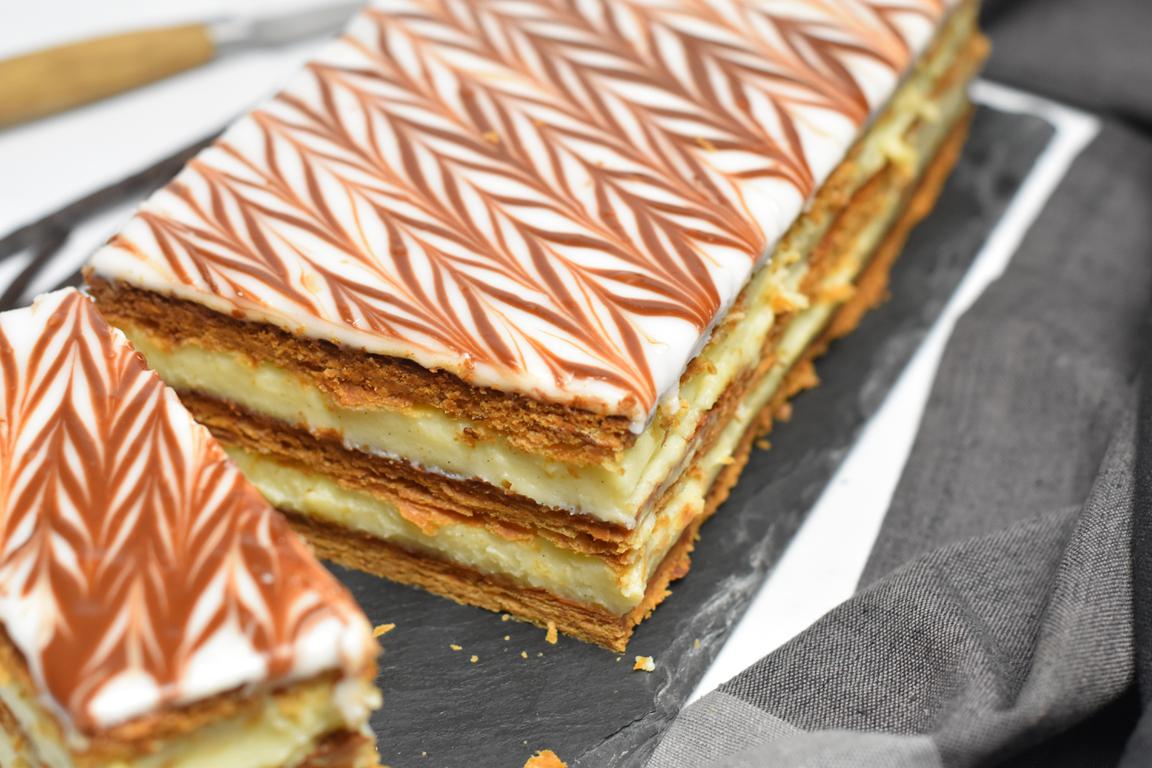
With a serrated knife and using a template or a ruler, trim the edges of the puff pastry sheet to obtain a neat rectangle. Divide this rectangle into 3 equal rectangles. Do not press the knife while cutting but gradually saw with back-and-forth motions.
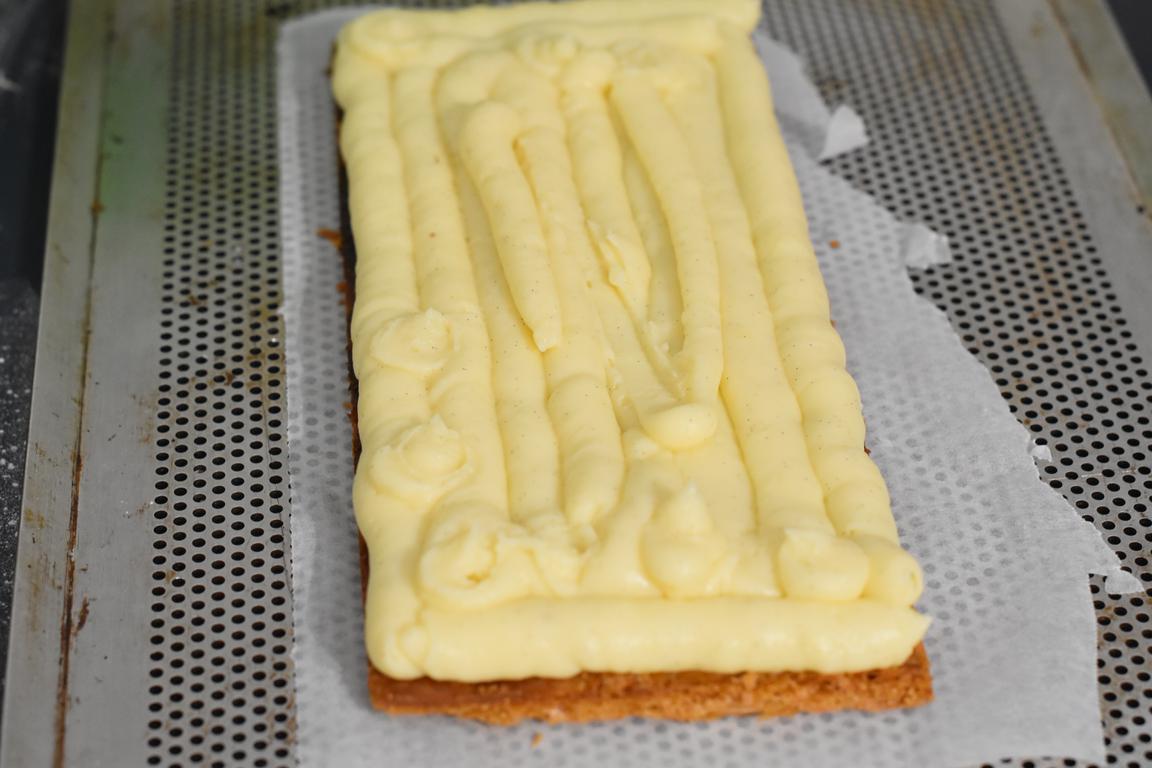
Loosen the pastry cream, then place it in a piping bag with a smooth nozzle about 1.2cm in diameter. Fill the first rectangle of puff pastry with the pastry cream, then cover with the second rectangle.
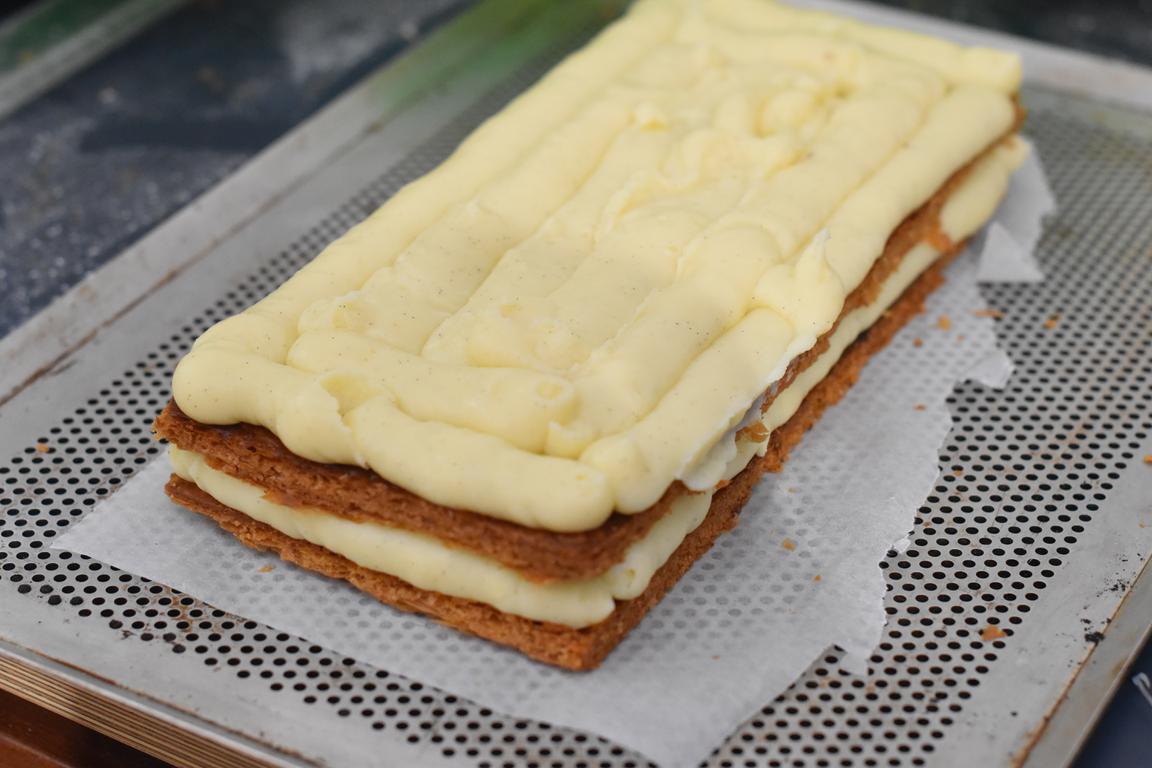
Press lightly to compact everything (but be careful not to break the fragile pastry; you can press with a baking sheet, this helps press evenly but not too hard). Pipe the cream again onto the puff pastry, and cover with the last rectangle.
Press lightly again, then with a spatula, remove the excess cream to have neat edges. Refrigerate while preparing the icing.
Fondant Icing:
Plan for about 400g of fondant to glaze the millefeuille without any issues.
Melt about 50g of chocolate.
Try to have all your tools (large offset spatula, cone for the chocolate, paring knife to stripe the icing) on hand so you don't lose time and risk ruining your marbling.
Gently heat your fondant while being careful not to exceed 37°C, otherwise, it will lose its shine. The fondant should be pliable but not too liquid; if it's too thick, you can add a bit of cane sugar syrup to loosen it.
Take a bit of fondant and mix it with the melted chocolate. When both fondants are ready, pour the chocolate one into a cone, then pour the plain fondant over the millefeuille. Spread it out with the offset spatula, it should be a thin layer (it's okay if it drips over the sides, it's easy to remove with a knife once set). With the cone, make thin lines lengthwise on the millefeuille (the lines should be fairly close together, it doesn't matter if they're not identical, you need to be quick).
With the dull side of the knife, draw diagonals in one direction and then in the other (for this part, I recommend watching a video to be sure of the gestures to perform).
Refrigerate so the fondant hardens.
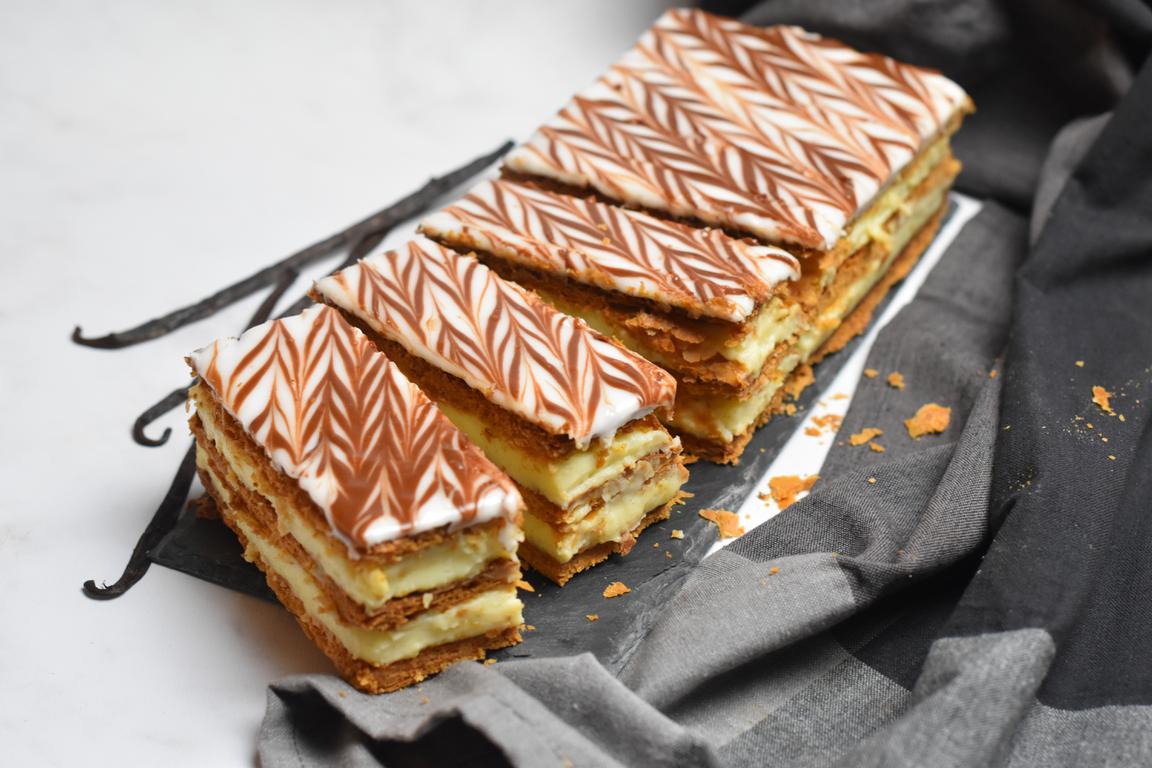
Then, remove the excess fondant with a serrated knife, then cut each millefeuille into 5 to 6 pieces. For this, cut the first layer of puff pastry with the serrated knife using back-and-forth motions, then cut the rest in one swift motion with a large smooth knife. Keep refrigerated until serving, and enjoy!